Gong Xi Fa Cai.
The days really flew and we are already into the 10th day of the Ox Year. Just wanted to share in this post, what I have been up to in baking and cooking for this new year.
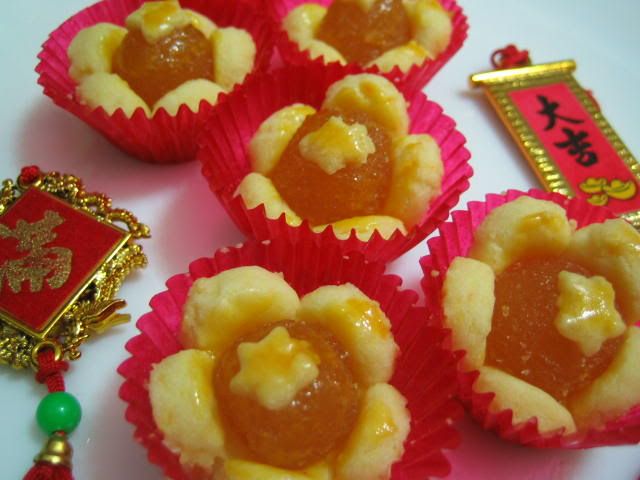
I managed to make three kinds of cookies this year. The first, Blossoms Pineapple Tarts as I made the tarts into pretty little flower shapes. These tarts are actually Nastar, the Indonesian version which uses grated Edam cheese in the pastry. I love the subtle taste of cheese in the buttery melt-in-the mouth pastry. Paired with the tangy pineapple jam, the tarts are a sure winner amongst the many bottles of cookies jostling for attention.

I also made some Hearts of Roses. Again, the name which I coined myself will give you a hint of what is to be expected. Using a trusted shortbread cookie recipe, I added pulverised dried rose buds to the dough. The idea to make this is not original I must admit. I was out at the mall doing my bit of new year shopping and had stopped by a cookie kiosk. The array of cookies offered by this vendor is mind boggling. They had unique flavors like Japanese Sweet Potato, Jackfruit, Lychee, Champagne Raisin, Black Cookies which is made with soya and sunflower seeds to the commoner ones like Green Bean, Durian, Cashews, Almonds and Pistachios. The Rose Tea Cookies was one of those which I sampled and I loved how the light rose fragrance perfumed the cookies. Not wanting to splurge $23.80 on a tin of 72 cookies, I decided I could easily make them myself. Besides adding pulverised rose buds, I added rose syrup which I happened to have half a bottle in the larder and decorated the cookies with a sprinkling of pink sugar crystal. For less than $10, I ended up with three and half bottles of Hearts of Roses.

The last cookie I made were Cranberry Cookies, the recipe of which I goggled off the internet. Nothing spectacular about this drop cookie except that it has a bit of chewiness in it as the cranberries were blended rendering it into something like gummies.
I also made some Pickled Lotus Roots. The paper thin slices of lotus roots are pickled in a vinegar sugar syrup and given a spicy kick with the addition of fiery birdeye chillies and liquorice strips. Served cold, this pickle really refreshes the palate. Everyone needs to eat something like this with all the gorging and bingeing.
 Pre-Reunion
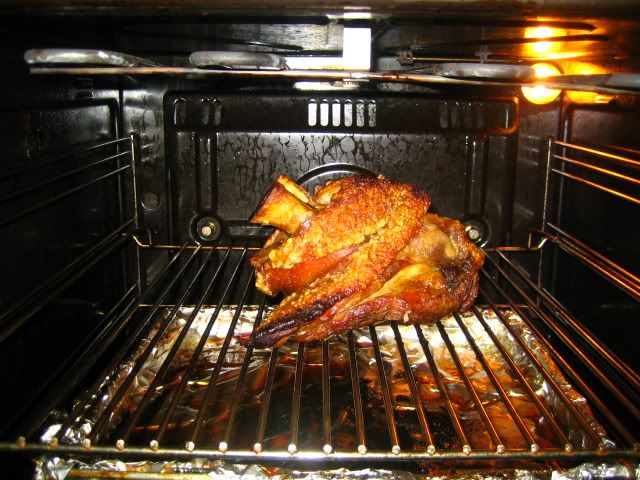
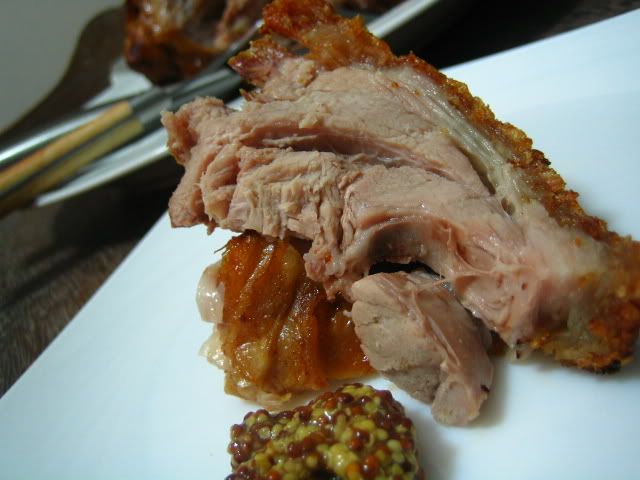
I don't usually prepare Reunion Dinner in my own home as DH prefers to just have the yearly Do at his mum's home. However, this year, I did make an auspicious pig trotter, albeit German style, pre-reunion dinner. We Chinese believe that having pig trotters during new year period will bring in lots of luck and money. The usual way to serve the trotter would be to braise it in soya sauce. Instead of braising, I prefer to roast it and hence, Golden Roasted German Pork Knuckle, served with whole grain mustard and relish. The crackling were meltingly good and the meat just nicely cooked. Yum.
Pork Knuckle just roasted
Plated to be served
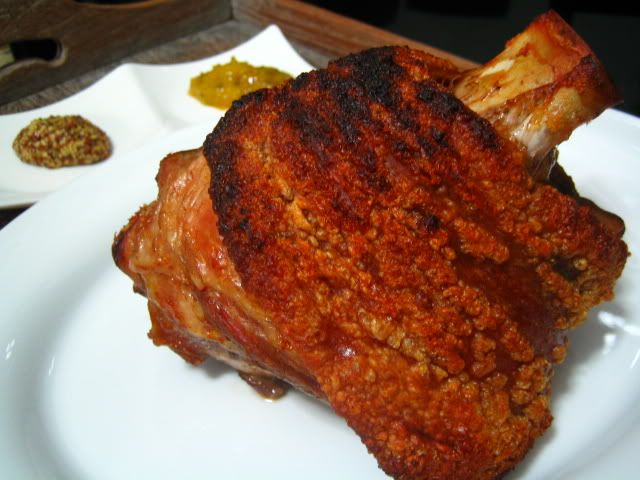
Succulent, yummy
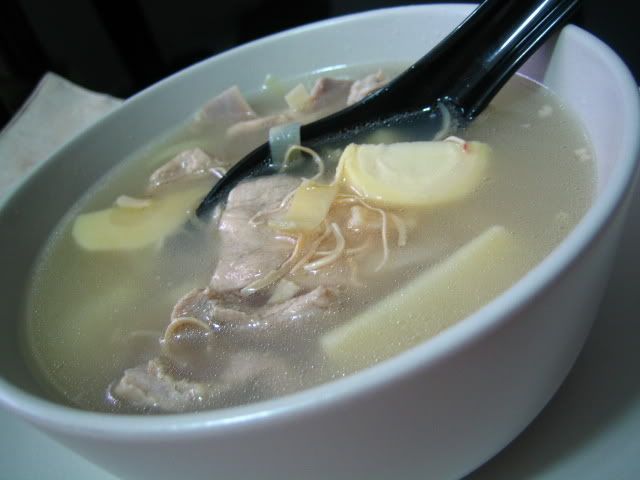
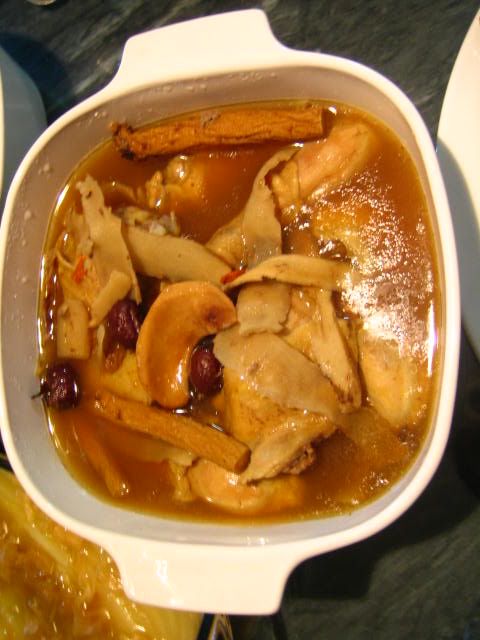
I also made this rich soup of pork bones, dried cuttlefish, scallops, leeks and Winter Bamboo Shoots. The Bamboo Shoots here is the star ingredient. A good friend had actually couried the Bamboo Shoots to me, all the way from Taichung, Taiwan. I don't usually take bamboo shoots as they sometimes have this strange ammonia smell that is not unlike, pardon me, urine. However these winter shoots are so different, they are so tender and they do made the soup so umami sweet tasting. I can imagine how stomach warming this soup can be on a cold wintery night if I was in a cold county. With her instructions over the phone, she suggested the ingredients to be used and the 'Mother-in-Law's lesson" on how to prepare the fresh shoots. It seems that in Taiwan, any Mother-in-Law worth her salt would remind their new daughter that bamboo shoots must be cooked over rolling boiling water, uncovered, for the first 15 minutes of the cooking time. This is to ensure that the shoots will taste its best and retains the crunchiness. By the way, Winter Bamboo Shoots are a prized ingredient in Taiwan.
Here is my Pork Ribs Winter Bamboo Shoot Soup
 First Day of CNY
For the obligatory rounds of
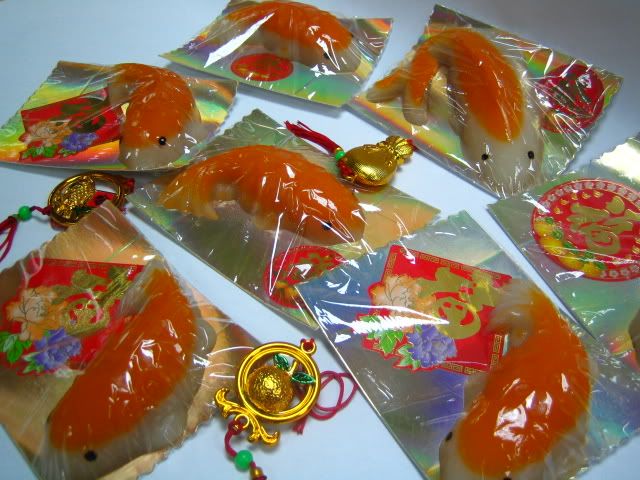
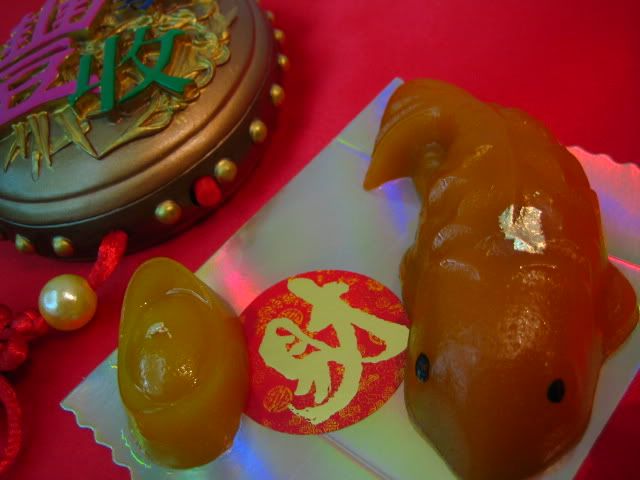
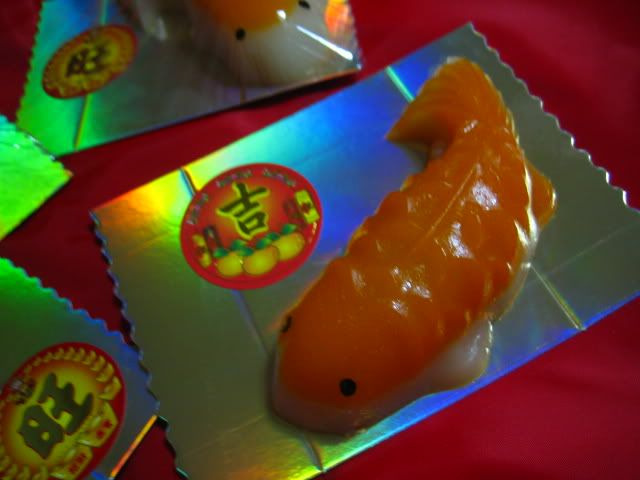
Pai Nien(拜年), I had made these delightful mini Fish and Gold Ingots
Nien Gao (年糕) to be given away with the pair of Mandarin Oranges. These steamed glutinuous sweet cakes were given a luxurious touch with gold foil. I must have made close to 150 of these mini fishes in total. Some were given to my colleagues and my husband's colleagues just prior to the new year while the rest were given away on the first day of new year. Although tiny, the fishes were well received by all as Nien Gao literally translate to mean Year (
Nien), High (
Gao) and eating them will assure one of a job promotion every year for the working adults and high grades for the school kids. It is also traditionally offered to the Kitchen God as prayer food to 'seal' his mouth with the sweet sticky cakes so that he will not carry a bad report but only sweet stuff of you when he makes his yearly report to the Jade Emperor.
Fishes Galore
 Second Day of CNY
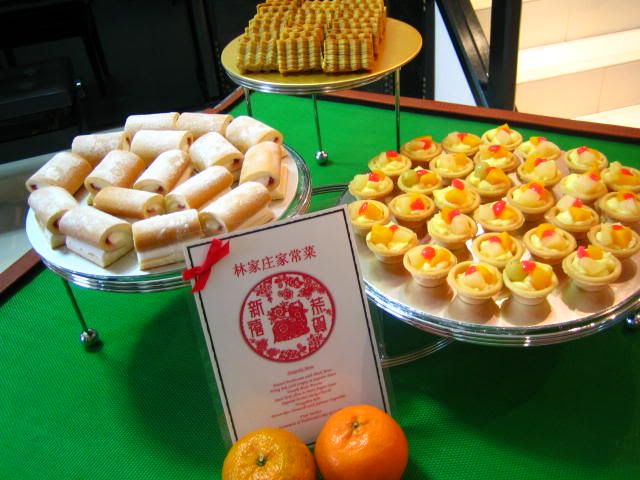
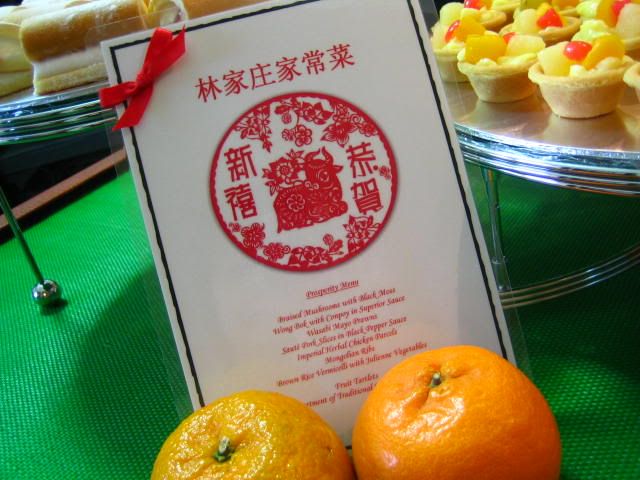
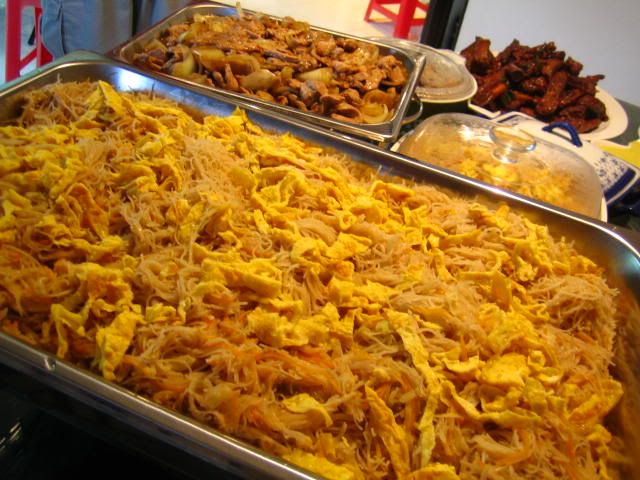
This is my cookout day. I will usually invite my in-laws (from my husband's side) and my children's friends home for dinner on the second day. This year, I had prepared an eight course buffet style dinner for the close to fifty guests. My Prosperity Menu includes: Imperial Herbal Steamed Chicken, Wasabi-Mayo Prawns, Mongolian Pork Ribs, Steamed Wong Bok with Scallops in Superior Stock, Saute Pork Slices with Black Pepper, Braised Mushroom & Dried Oysters in Black Moss, Fried Brown Rice Vermicelli and Mini Fruit Tartletts. All these are in addition to the assortment of traditional cakes and cookies served.
The Properity Menu -I made a menu so that my guests could see for themselves what would be served for dinner.
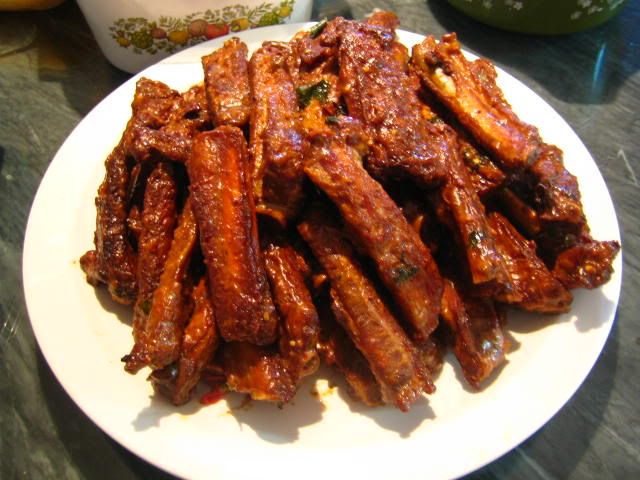
Mongolian Ribs - marinated in red fermented bean curd for three days, deep fried and the tossed in a cheese sauce.
Imperial Herbal Chicken - three pots of fresh chicken thigh, steamed with herbs and Shao Xing wine.
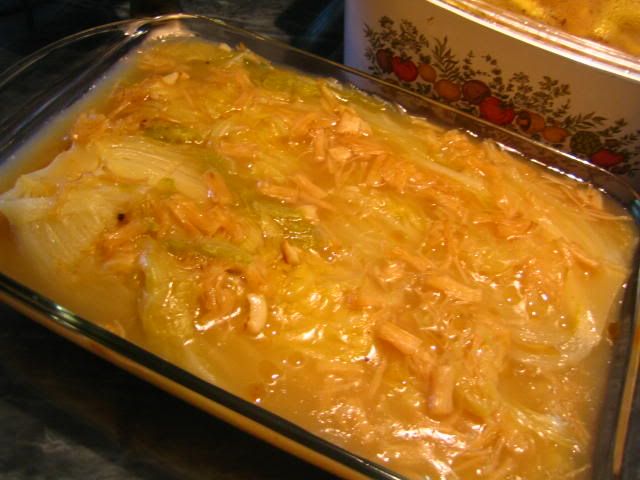
Steamed WongBok smoothered in a sauce made with superior stock and dried scallops.
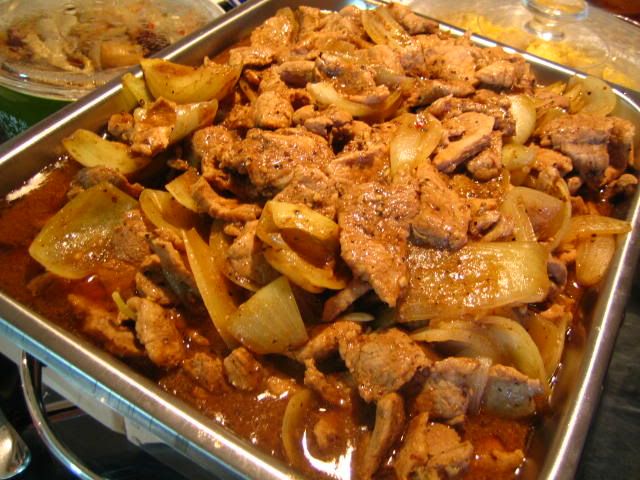
The Black Pepper Pork Slices - tender slices of pork,fried with large onions and black pepper.
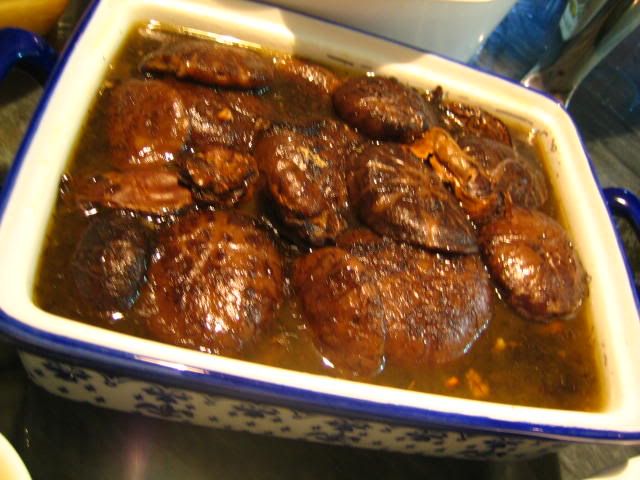
A perennial favorite, Braised Mushrooms & Dried Oysters with Black Moss.
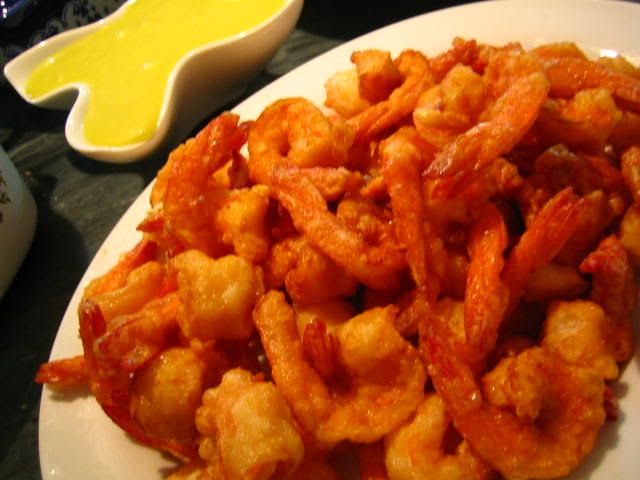
Wasbi-Mayo Prawns - lightly battered prawns served with the wasabi-laced mayo sauce on the side.
Fried Brown Rice Vermicelli with julienned vegetables - for the carbo-deprived.
Mini Fruit Tartletts - cocktails over custard
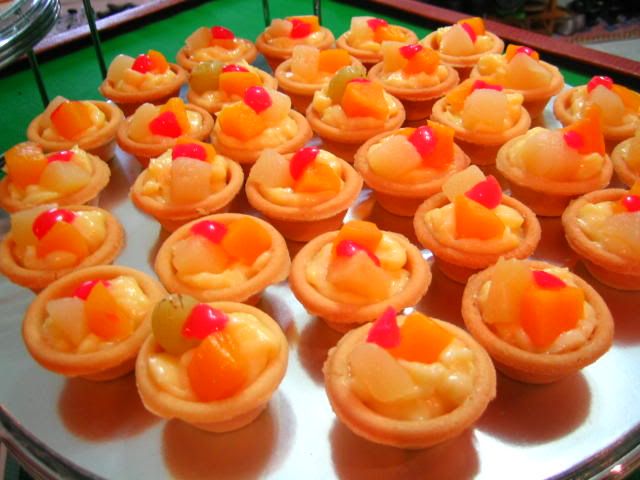
The Dessert Tray = more cakes for the sweet toothed!